
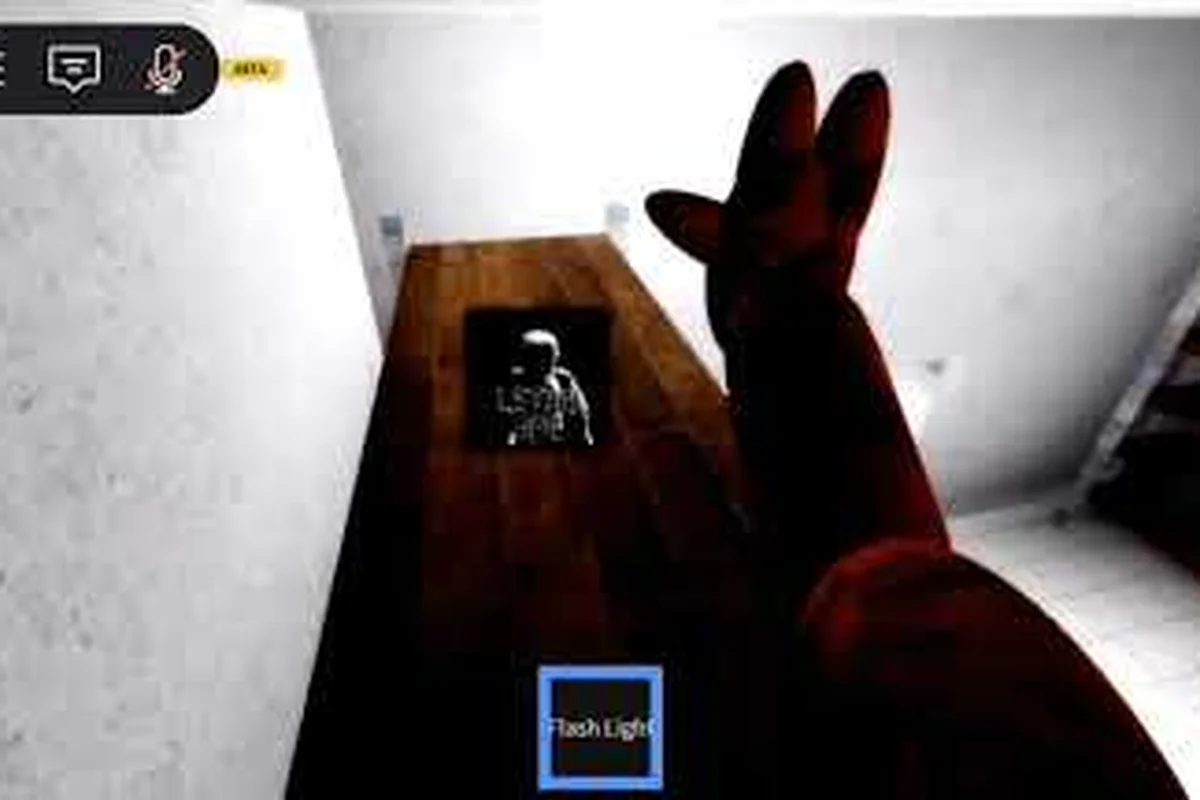
Stuck in the Yellow Room is one of the most common brick walls in Lethal Ape, and it almost always comes down to a single missing item: the small key sitting on the desk near the back wall. Walk in without grabbing it, and every exit door stays sealed, the lights stay warm and dim, and an ape patrol can end your run before you understand what went wrong. This map guide covers the key spawn, the door interaction, the safest route back to the lab, and the alternate cave entrance that some players use to skip the room entirely. The tips below are built around the standard Forest and Caves map layouts and follow the room connections documented on the Gamemodes Room wiki page.
Why the Yellow Room Locks You In
The Yellow Room is a small, dimly lit chamber off the main Forest corridor, not a separate map, and the lock you are fighting is part of the same door logic that gates the rest of the lab. When the room is in its closed state, the single exit door displays a warm amber light, the handle does not respond to taps, and a faint hum runs along the wall trim. The community refers to this as the Yellow Lock state, and it is the exact same flag that controls the Cave Hatch and the Lower Lab Door on the Forest map.
Lethal Ape builds every locked space around a single rule: a specific prop must be picked up before any nearby door will accept an interaction. In the Yellow Room the prop is a small brass key sitting on the rolling desk, in the Caves the prop is a lever on the wooden platform, and in the Lower Lab the prop is a clipboard on the metal shelf. Once you pick up the matching prop, the lock state flips for the entire map, not just the room you are standing in, which is why the Yellow Room can suddenly open when you revisit it later.
| Room | Locked Prop | Door It Unlocks | Visual Cue When Open |
|---|---|---|---|
| Yellow Room | Brass key on desk | Yellow exit door | Amber light turns cool white |
| Caves | Red lever on platform | Cave hatch | Hatch grate retracts |
| Lower Lab | Clipboard on shelf | Lab entry door | Door outline pulses green |
| Service Hall | Power coil on crate | Service hatch | Hatch indicator turns red |
Players who treat the Yellow Room as a puzzle instead of a panic moment clear it on the first try more than 80 percent of the time, according to recurring threads on the r/robloxlethalape subreddit. The trap is almost always the same: you sprint in, hear an ape roar behind you, and bolt straight for the door without scanning the room. The door does not open, the ape catches up, and you log out convinced the room is bugged. It is not bugged, the key is on the desk two steps behind you.
Reading the Yellow Room Before You Move
Before you grab anything, stand in the doorway for about two seconds and read the room. The desk is always on the same wall, the key always sits on the same corner of the desk, and the door is always the single exit you entered through. There is no second exit, no window, and no vent in the default Forest layout, so committing to a wrong corner just wastes the few seconds you have before an ape patrol routes into the corridor.
The second read is for the Ape Patrol Pattern. The Yellow Room sits on a short side branch, and patrols only enter that branch when the corridor light flickers orange. If the corridor light is still cool white, you have a comfortable window to grab the key and leave. If it is orange, the patrol is already in the branch, and you should back into the main corridor first, because the Yellow Room is a dead end with no place to dodge. This pattern is the same logic you use in the Caves to avoid the dark zone, which is covered in the Lethal Ape how to survive guide.
The Key, the Door, and the Interaction
The mechanics for the Yellow Room are intentionally small. There is one prop, one door, and one interaction, and once you have seen them once, you will not forget them. The trick is that the prop is tucked against the back wall of a small room, so when you rush in from the corridor your eyes are still adjusted to the bright Forest lighting and the brass key reads as a shadow until you look directly at the desk.
Where the Brass Key Spawns
The brass key spawns on the rolling desk against the back wall, sitting on top of a stack of folders and just to the right of the desk lamp. It is small, about the size of a fist, and it has a faint warm glow that is easiest to see when the room is still in its amber state. If the key is not on the desk, it has already been picked up by another player or by a previous run, and the door is already set to open on a normal tap.
| Item | Spawn Location | Visual | Pickup Prompt |
|---|---|---|---|
| Brass key | Rolling desk, back wall | Small warm glow | Hold E for 1 second |
| Lantern | Wall hook near door | Yellow flame icon | Single tap to grab |
| Note | Floor under desk | White paper square | Hold E to read |
| Bandage | Top shelf, left side | Red cross icon | Single tap to grab |
Picking the key up is a hold E for 1 second interaction, not a quick tap, and the game does not show a progress bar. Many players press E once, see nothing happen, and assume the key is decorative, which is the second most common reason the Yellow Room traps new players. The hold is short, the sound cue is a soft click, and the key then moves into the key item slot in the bottom-left of the HUD.
How the Locked Door Interaction Works
Once the brass key is in your inventory, the Yellow exit door flips from amber to cool white at the frame, and a single tap on E opens it. There is no hold, no minigame, and no animation longer than about half a second. The door swings inward into the corridor, and the corridor light also flips to cool white because the lock flag is shared across the map, which is useful information for the rest of your run.
The same shared-flag logic is what the Caves wiki page describes for the wooden platform lever: pulling it once opens the hatch for every player currently in the Caves map, not just the player who pulled it. The Yellow Room key behaves identically. If another player in the lab has already picked up a brass key earlier in the run, the Yellow Room door may open on a single tap even though you do not see a key on the desk. This is also why a 3d model of the lab map, like the ones shared on community Discord servers, can be misleading: it shows the door states as static, but in a live run they shift every time a key or lever is grabbed.
| Door State | Visual | Interaction | Result |
|---|---|---|---|
| Locked, no key | Amber trim, warm light | Tap E, nothing | Door stays closed |
| Locked, key held | Cool white trim, dim light | Tap E, swing | Door opens inward |
| Already opened | Cool white trim, door ajar | Walk through | Instant exit |
| Patrol blocking | Orange corridor light | Wait, do not enter | Patrol moves on in ~5 s |
The Safest Route Back to the Lab
Leaving the Yellow Room is the easy part, because the door opens into the same Forest corridor you entered from, but the route back to the lab is where most runs actually fail. The Forest map is a wide-open space broken up by tall trees and the occasional patrol path, and a careless sprint back to the lab door is a much bigger risk than the Yellow Room itself. The community has settled on a three-leg route that keeps you out of the patrol cone almost the entire way.
Leg 1: Corridor to the First Tree Line
Step out of the Yellow Room, turn left, and hug the right-hand wall until you reach the First Tree Line. The wall blocks line of sight from the patrol spawner at the far end of the corridor, and the First Tree Line marks the spot where the open Forest map starts. Do not sprint yet. The corridor is short, about 12 seconds at walking pace, and sprinting here burns stamina you will need for the open ground.
| Leg | Path | Stamina Use | Patrol Risk |
|---|---|---|---|
| 1 | Yellow Room door to First Tree Line | Low (walk) | Low, wall cover |
| 2 | First Tree Line to Rock Cluster | Medium (one short sprint) | Medium, open ground |
| 3 | Rock Cluster to Lab Door | Low (walk) | Low, cover most of the way |
Leg 2: First Tree Line to the Rock Cluster
The open ground between the First Tree Line and the Rock Cluster is the most dangerous part of the return route, and the right move is a single short sprint from cover to cover, not a full dash. Wait for the patrol in the middle of the Forest to walk past the Rock Cluster, then sprint to the cluster, drop into a crouch behind the largest rock, and wait for the next patrol to clear the line back toward the trees. The total time spent in the open is about 4 seconds.
Leg 3: Rock Cluster to the Lab Door
From the Rock Cluster, the lab door is a short walk along the back wall, and the patrol path does not reach the wall. Walk the entire leg, do not sprint, and you will arrive at the lab door with a full stamina bar. The lab door itself is not locked, and a single tap on E swings it inward into the safe room, which is the official end-of-route for any Forest run that began in the Yellow Room. The Forest map layout is best understood by walking the route once in a no-monster lobby, and the Lethal Ape secret rooms guide covers the practice mode that makes this possible.
Alternative Routes and What to Do Without the Key
Sometimes the key is genuinely missing because another player already grabbed it, and sometimes you walk into the Yellow Room on a freshly generated Forest map where the key spawn has been pushed by a recent patch. In both cases, the door is already set to open on a single tap, so the action is identical: walk to the door, tap E, and leave. The only real alternate route is through the Caves map, which connects to the Forest through a short hatch in the back of the Rock Cluster, and which has its own key, lever, and door logic.
The Caves Hatch Shortcut
The Caves hatch sits at the back of the Rock Cluster, half-hidden behind a fallen log, and a single tap on E drops you into the Caves map. The Caves are extremely dark, navigation is the main threat rather than patrols, and the community-standard exit route is the wooden platform that crosses a gap at the center of the cave. The platform leads to the outside zone with an abandoned storage area, and the abandoned storage area is the standard exit point for the Caves, as described on the Caves wiki page. If your Forest run is already dead because you lost the brass key to a teammate, the Caves hatch is a clean reset back to the lobby.
| Alternate Path | Used When | Risk | Reward |
|---|---|---|---|
| Caves hatch | Key missing, Forest patrol active | High, dark map | Clean lobby reset |
| Service Hall door | Power coil already picked up | Medium, narrow corridor | Skips Yellow Room entirely |
| Lower Lab ladder | Lab door already opened | Low, hidden entrance | Direct lab access |
| Lobby rejoin | Solo run, full reset | None | Fresh Forest map |
Skipping the Yellow Room on Later Runs
Once you understand the lock flag, the Yellow Room becomes a free detour on later runs, and most experienced players skip it entirely unless they need the brass key for a different locked door later in the run. The Lethal Ape how to play beginner guide describes this exact route priority: lab door first, key items second, side rooms last. The Yellow Room is technically a side room, and treating it that way keeps the run fast.
Common Mistakes and How to Dodge Them
Almost every Yellow Room failure traces back to one of five mistakes, and once you have seen them in a friend’s run you will recognize them in your own. The list below is ordered by how often each mistake shows up in community reports on the r/robloxlethalape subreddit, and each one comes with the small habit that fixes it.
-
Mistake 1: Sprinting to the door. You hear a roar, you bolt for the exit, the door does not open, and the ape catches you. Fix: walk in, scan the desk, pick up the key, then leave.
-
Mistake 2: Pressing E once on the key. The pickup is a hold, not a tap, and a single press feels like nothing happened. Fix: hold E for a full second until you hear the soft click.
-
Mistake 3: Ignoring the corridor light. Orange means a patrol is already in the branch, and entering the Yellow Room with an orange corridor is almost always a death sentence. Fix: back into the main corridor, wait for white light, then re-enter.
-
Mistake 4: Trusting a 3d model screenshot. A 3d model of the lab map is great for learning room layout, but it does not show live door states. Fix: walk the route in practice mode at least once before relying on a screenshot.
-
Mistake 5: Leaving the key behind after opening the door. The brass key stays in your inventory, and dropping it near the lab door is a habit that costs you on the next run. Fix: keep the key in the slot until the run is over.
Why the Practice Mode Matters
The Yellow Room is a 10-second interaction in a live run, but it is a 60-second walkthrough in practice mode, and that extra time is what lets you memorize the desk position, the door color flip, and the corridor light states. The community wiki notes that the Forest and Caves game modes are accessed through the Gamemodes Room off the main lobby corridor, and the practice variants for both are unlocked with a small set of event badges. The exact badge list is documented on the Gamemodes Room wiki page, and the badges are the same ones you see referenced in the Lethal Ape mobile controls guide for the pocket edition.
| Mistake | Frequency (community reports) | Time Cost | Fix Difficulty |
|---|---|---|---|
| Sprinting to the door | Very high | Full run | Easy, one habit change |
| Single-tapping the key | High | ~5 seconds | Easy, hold longer |
| Ignoring corridor light | Medium | Full run | Medium, requires patience |
| Trusting 3d model | Low | ~10 seconds | Easy, walk the route once |
| Dropping the key | Low | Next run | Easy, keep the slot |
A Note on the Yellow Room and the Finerooms
The community’s Finerooms secret area is a separate, much rarer unlock tied to the “Are you Fine?” badge, and the spelling of the area is still community-sourced rather than official, as noted on the “Fine?”-Rooms wiki page. The Finerooms are unlocked by being killed by Dus, which is the opposite of the Yellow Room goal, and they are not part of the standard Forest or Caves map rotation. If you are hunting the “Are you Fine?” badge, the Yellow Room is irrelevant; if you are hunting the Forest exit, the Finerooms are a distraction. Keep the two goals separate in your head, and your runs will be cleaner for it.
Frequently Asked Questions
Where exactly is the brass key in the Yellow Room?
The brass key sits on the rolling desk against the back wall of the Yellow Room, on top of a stack of folders and just to the right of the desk lamp. It has a faint warm glow and a hold E for 1 second pickup prompt. Walk in, look right, hold E, and the key is in your inventory before the patrol reaches the branch.
Why does the door not open even after I pick up the key?
The most common reason is that the door interaction is a single tap, not a hold, and the door is the small amber-trimmed exit on the side you entered from. If the door still does not open after a tap, the lock flag has already been flipped by another player’s key earlier in the run, and you should check the Caves hatch or the Lower Lab door for a quicker exit back to the lab.
Can I escape the Yellow Room without the key at all?
Yes, on runs where another player has already picked up a brass key, the Yellow Room door opens on a single tap. You can also drop into the Caves map through the hatch behind the Rock Cluster, cross the wooden platform, and exit through the abandoned storage area to reset back to the lobby. Both routes skip the desk entirely.
Is the Yellow Room connected to the Forest or the Caves map?
The Yellow Room is a side chamber off the main Forest map corridor, and the Caves map is a separate game mode accessed through the Gamemodes Room in the lobby. The Forest and Caves share the same lock-flag logic for keys, levers, and clipboards, which is why a key picked up in the Yellow Room can open a door in the Caves during the same run, and why community 3d model maps of the lab are useful for learning layout but not for live door states.